I love DIYing. Wool dryer balls are practical; they lower drying time, decrease wrinkles, and reduce static. If you make them you can even add one more point to your score on “You Might be a Crunchy Mom if…” score. So if you are trying to avoid chemicals, help out the environment and save money, check out these wool dryer balls! (I recommend you start with at least 4 dryer balls to see a difference in your laundry).
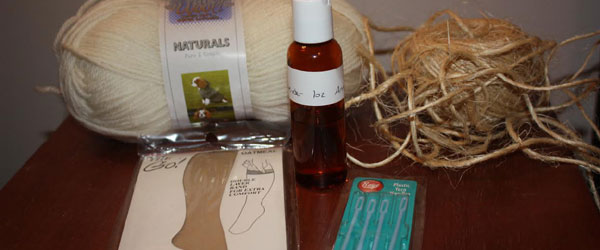
You will need:
- 100% wool yarn (mine was 220 yards)
- Panty Hose
- String
- Crochet Needle
- Essential Oil (lavender, tea tree, etc.) -optional
Making the yarn balls:
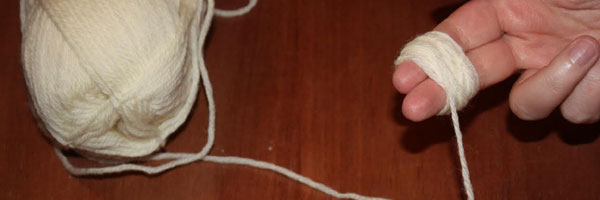
- Start making a yarn ball. I like to wrap it around 2-3 of my fingers about 20 times.
- Keep wrapping until it takes the shape of a small yarn ball.
- Optional-Stop when your yarn ball is about half the size of a tennis ball. Add 3-4 drops of your favorite essential oil.
- Continue wrapping until your yarn ball is the size of a tennis ball. (The balls will shrink during the felting process). If you want larger dryer balls, feel free to make them bigger.
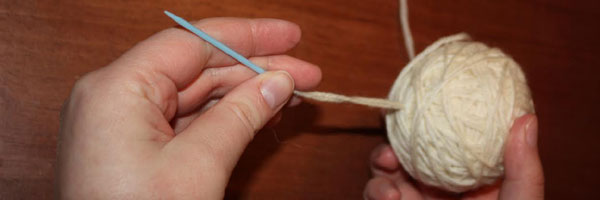
- Cut your yarn and thread it through a yarn needle.
- Push the needle through the ball and pull it out of the other side. Cut off excess yarn.
- Continue making yarn balls until you are out of yarn. I made 3 balls with my 220 yard skeen of wool yarn.
Felting the Dryer Balls:
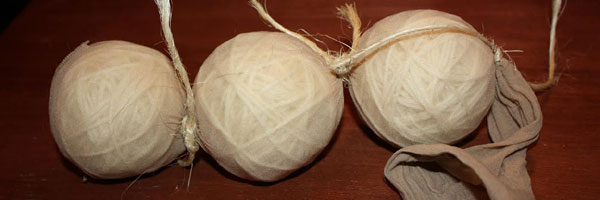
- Insert your ball to the end of your panty hose and tie off with a piece of string or dental floss. (Do not use extra yarn here as it will felt in the process).
- Continue until all your dryer balls are secured in the pantyhose.
- Now felt your dryer balls by washing them in your washer on the hottest setting. (If your water heater is turned down, turn it up for the washing process… don’t forget to turn it back down!)
- When the washer is finished, dry in the dryer on your hottest setting. The balls will have gotten smaller during the felting process.
Your dryer balls are now done and can be used in your dryer!
What is your favorite practical DIY project?


